.svg)
07_01_03_Charging and Storage of the VR Hardware
1. Charging the Headset, Controllers, and External Battery
1.1 Method:
The external battery can be charged either via a USB‑C cable or by using the charging station
Using a USB‑C Cable:
When charging with a USB‑C cable, the battery can remain attached to the headset during charging or be removed and charged separately.
1.2 Charging station:
With the supplied charging station and power adapter, up to three batteries can be charged simultaneously.
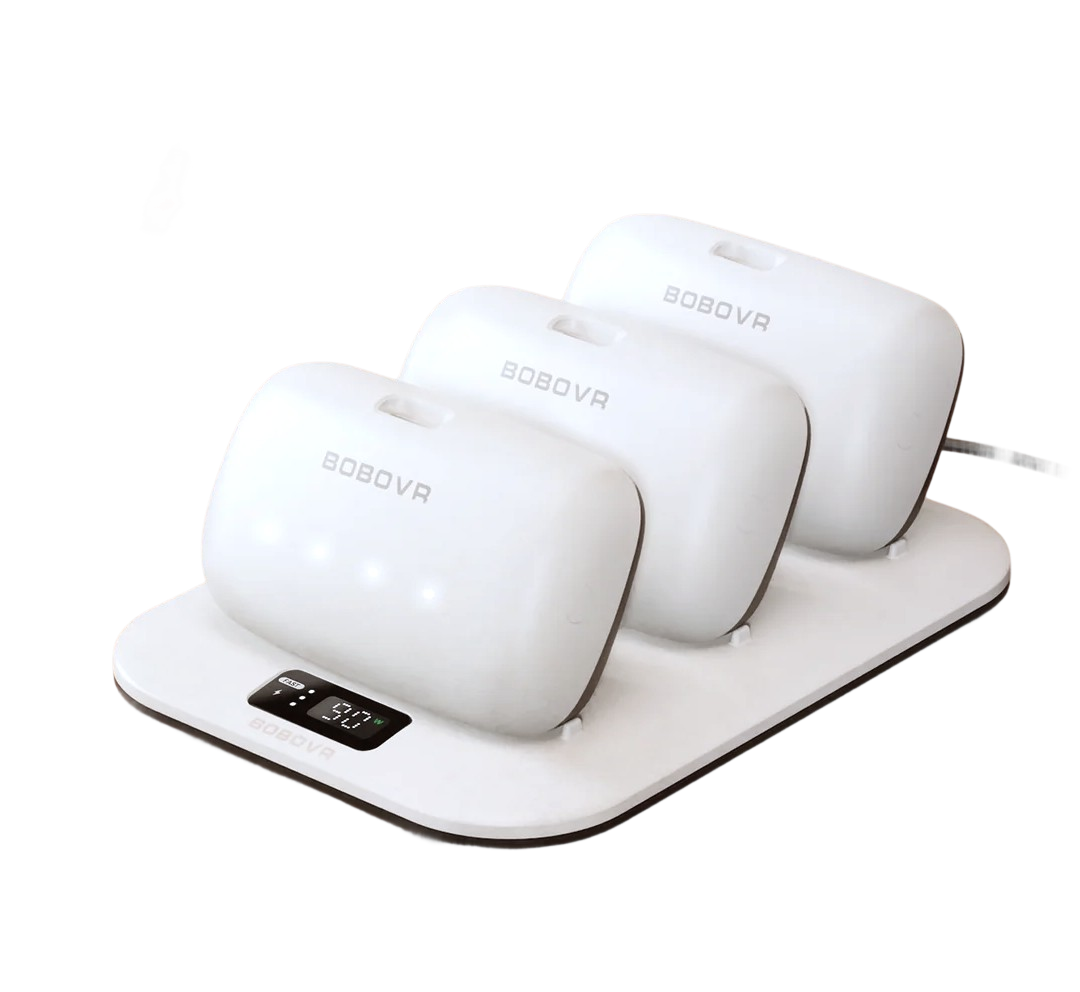
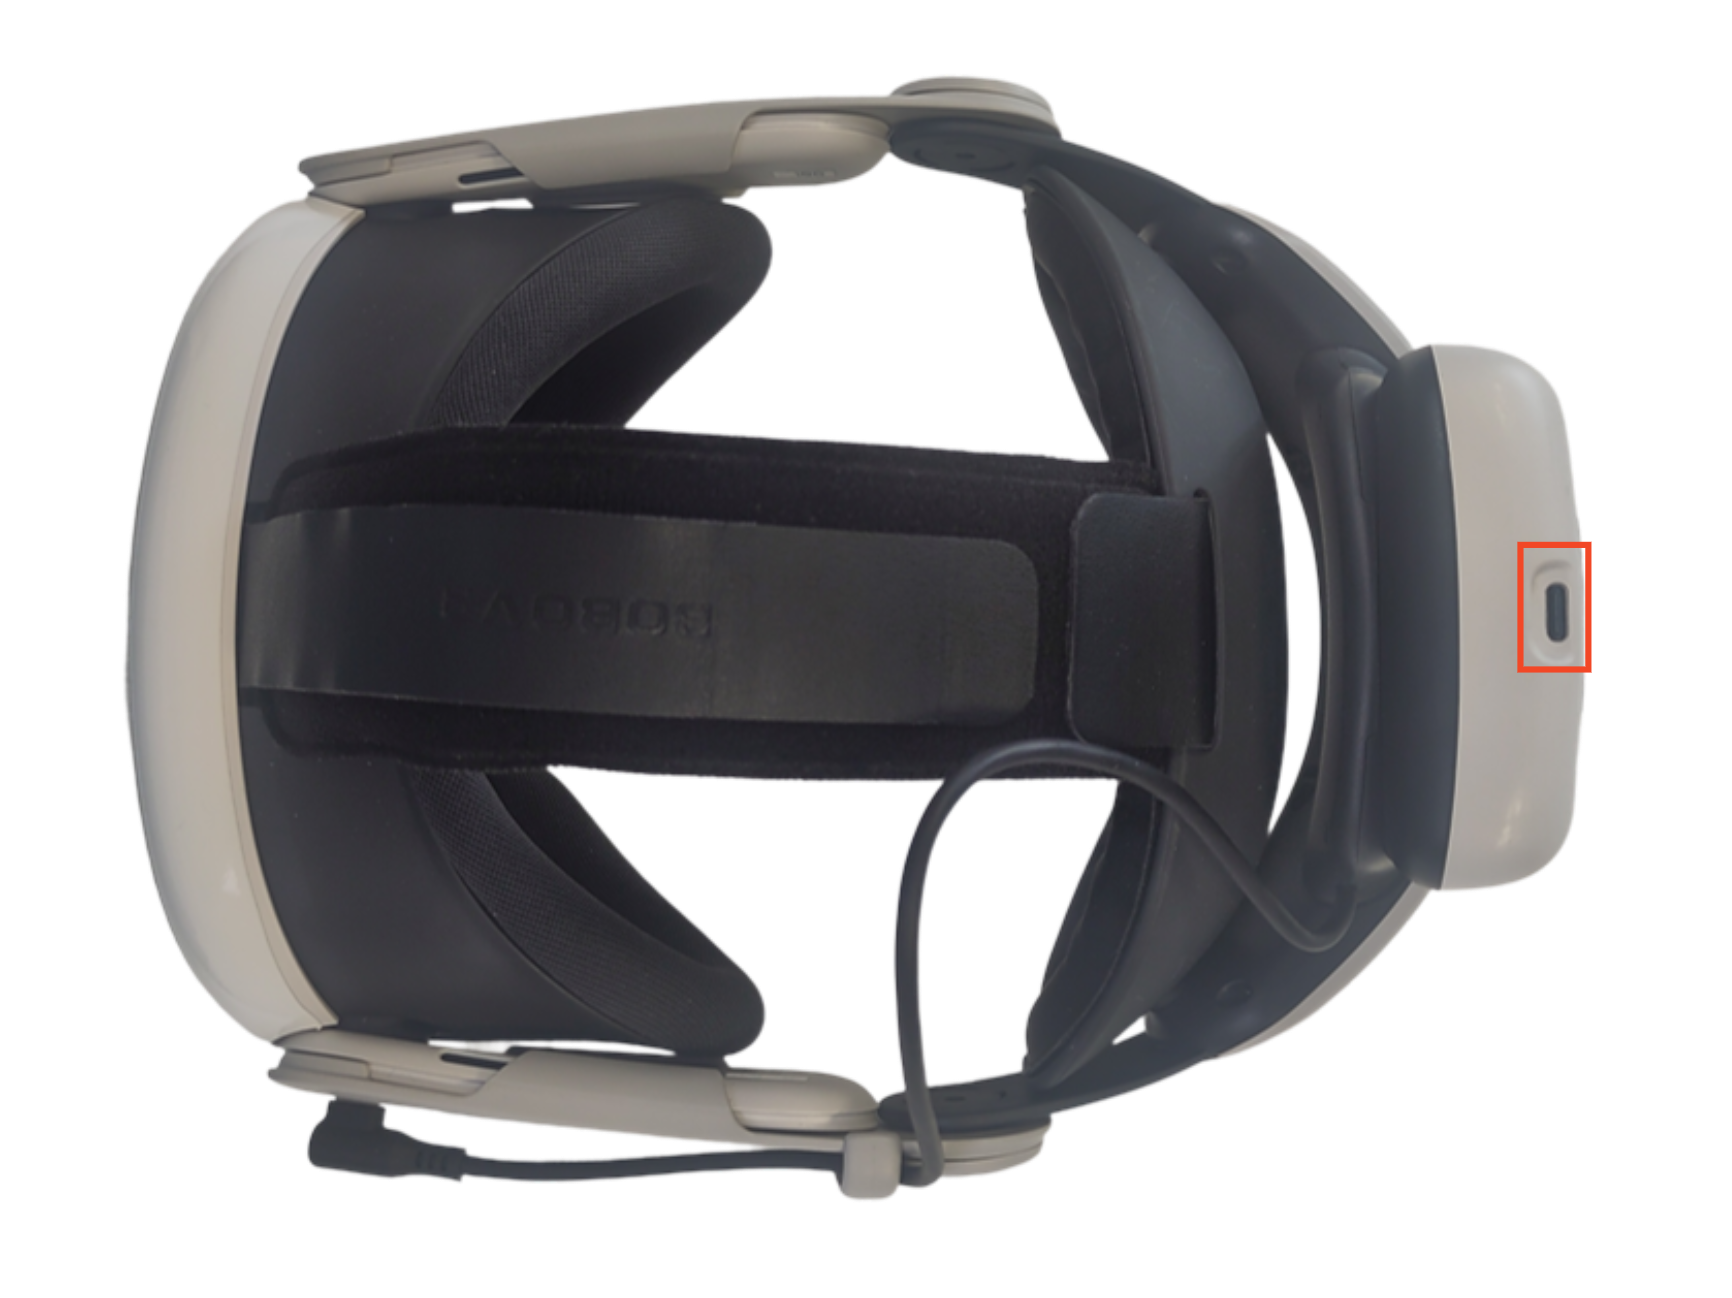
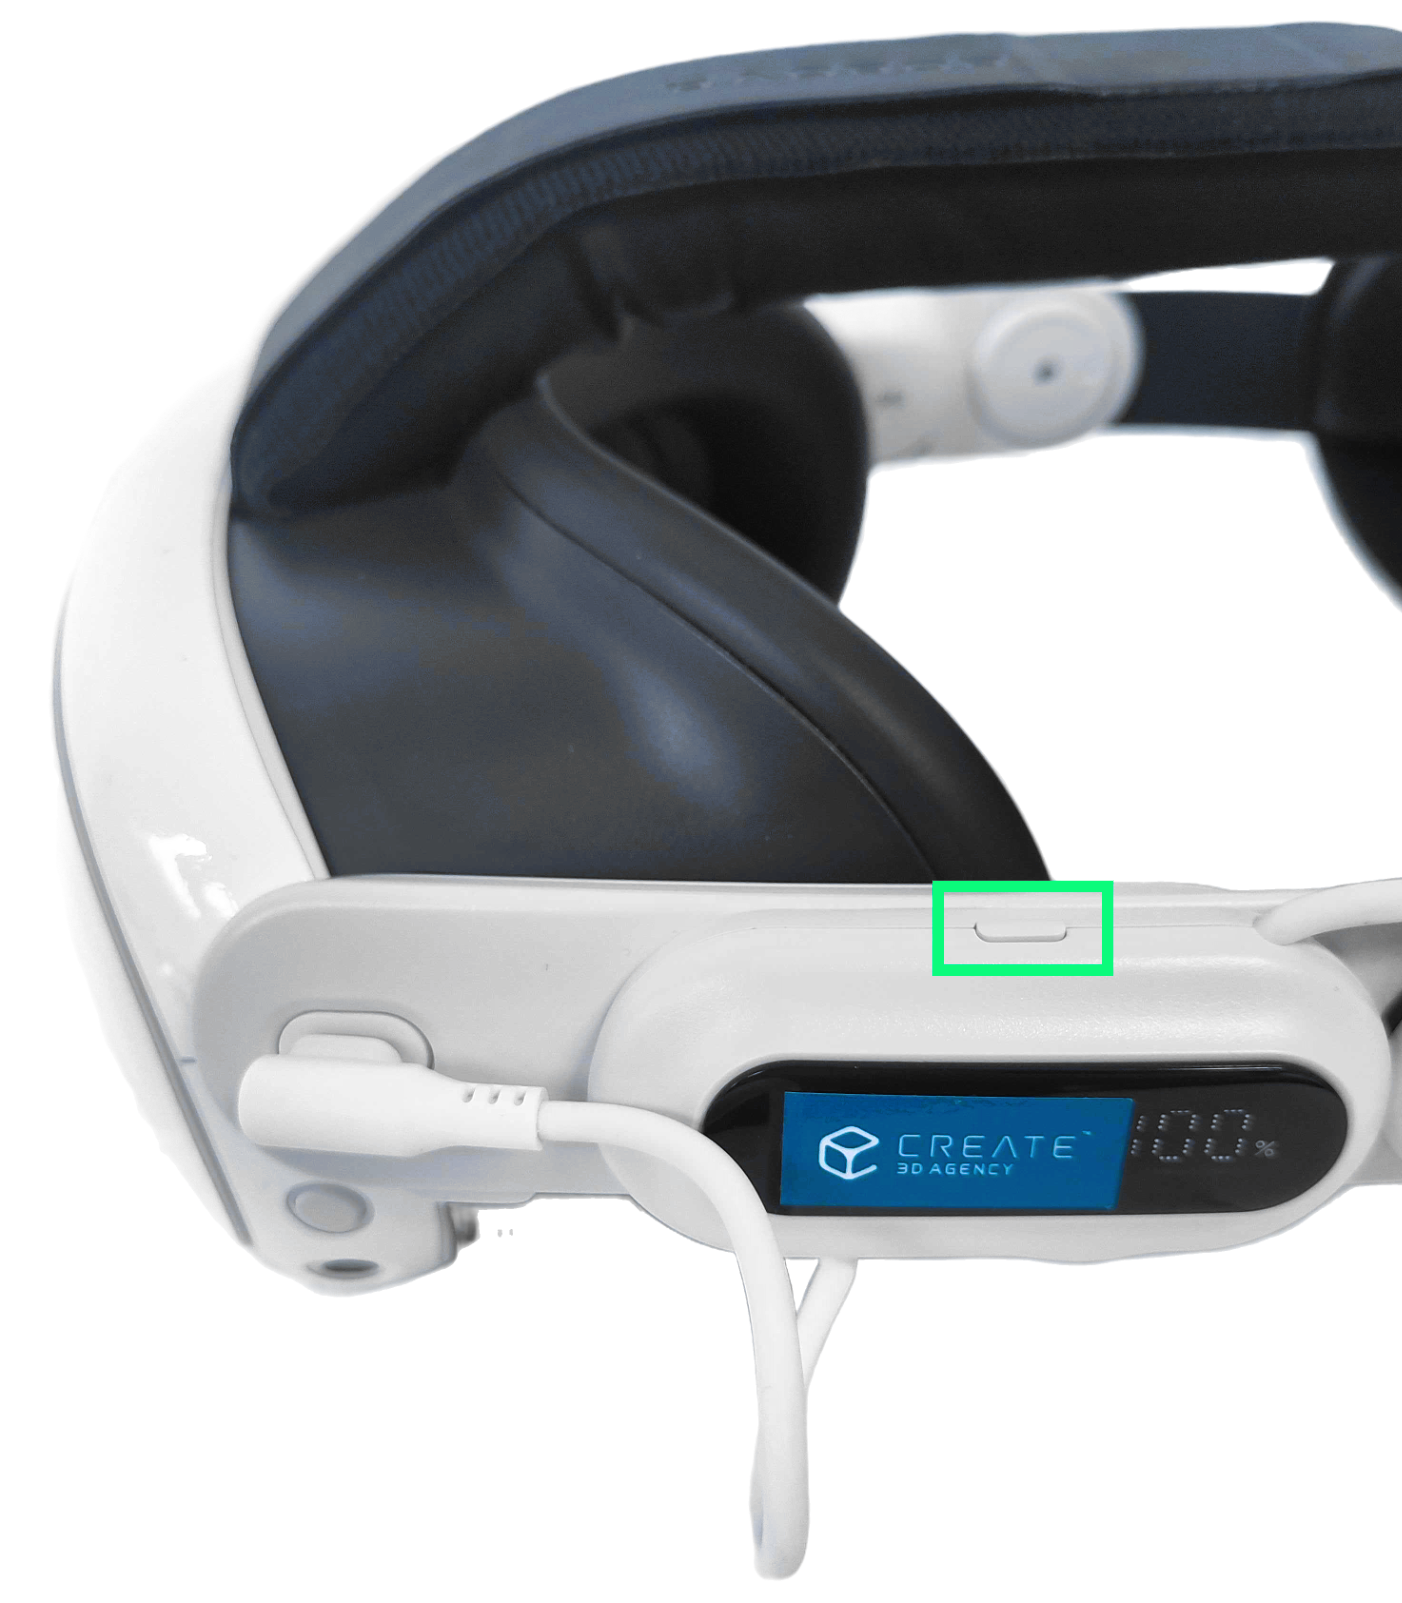
1.3 Displaying the Battery Level:
Press the red‑marked button to display the battery level. If four LEDs flash briefly, the battery is fully charged
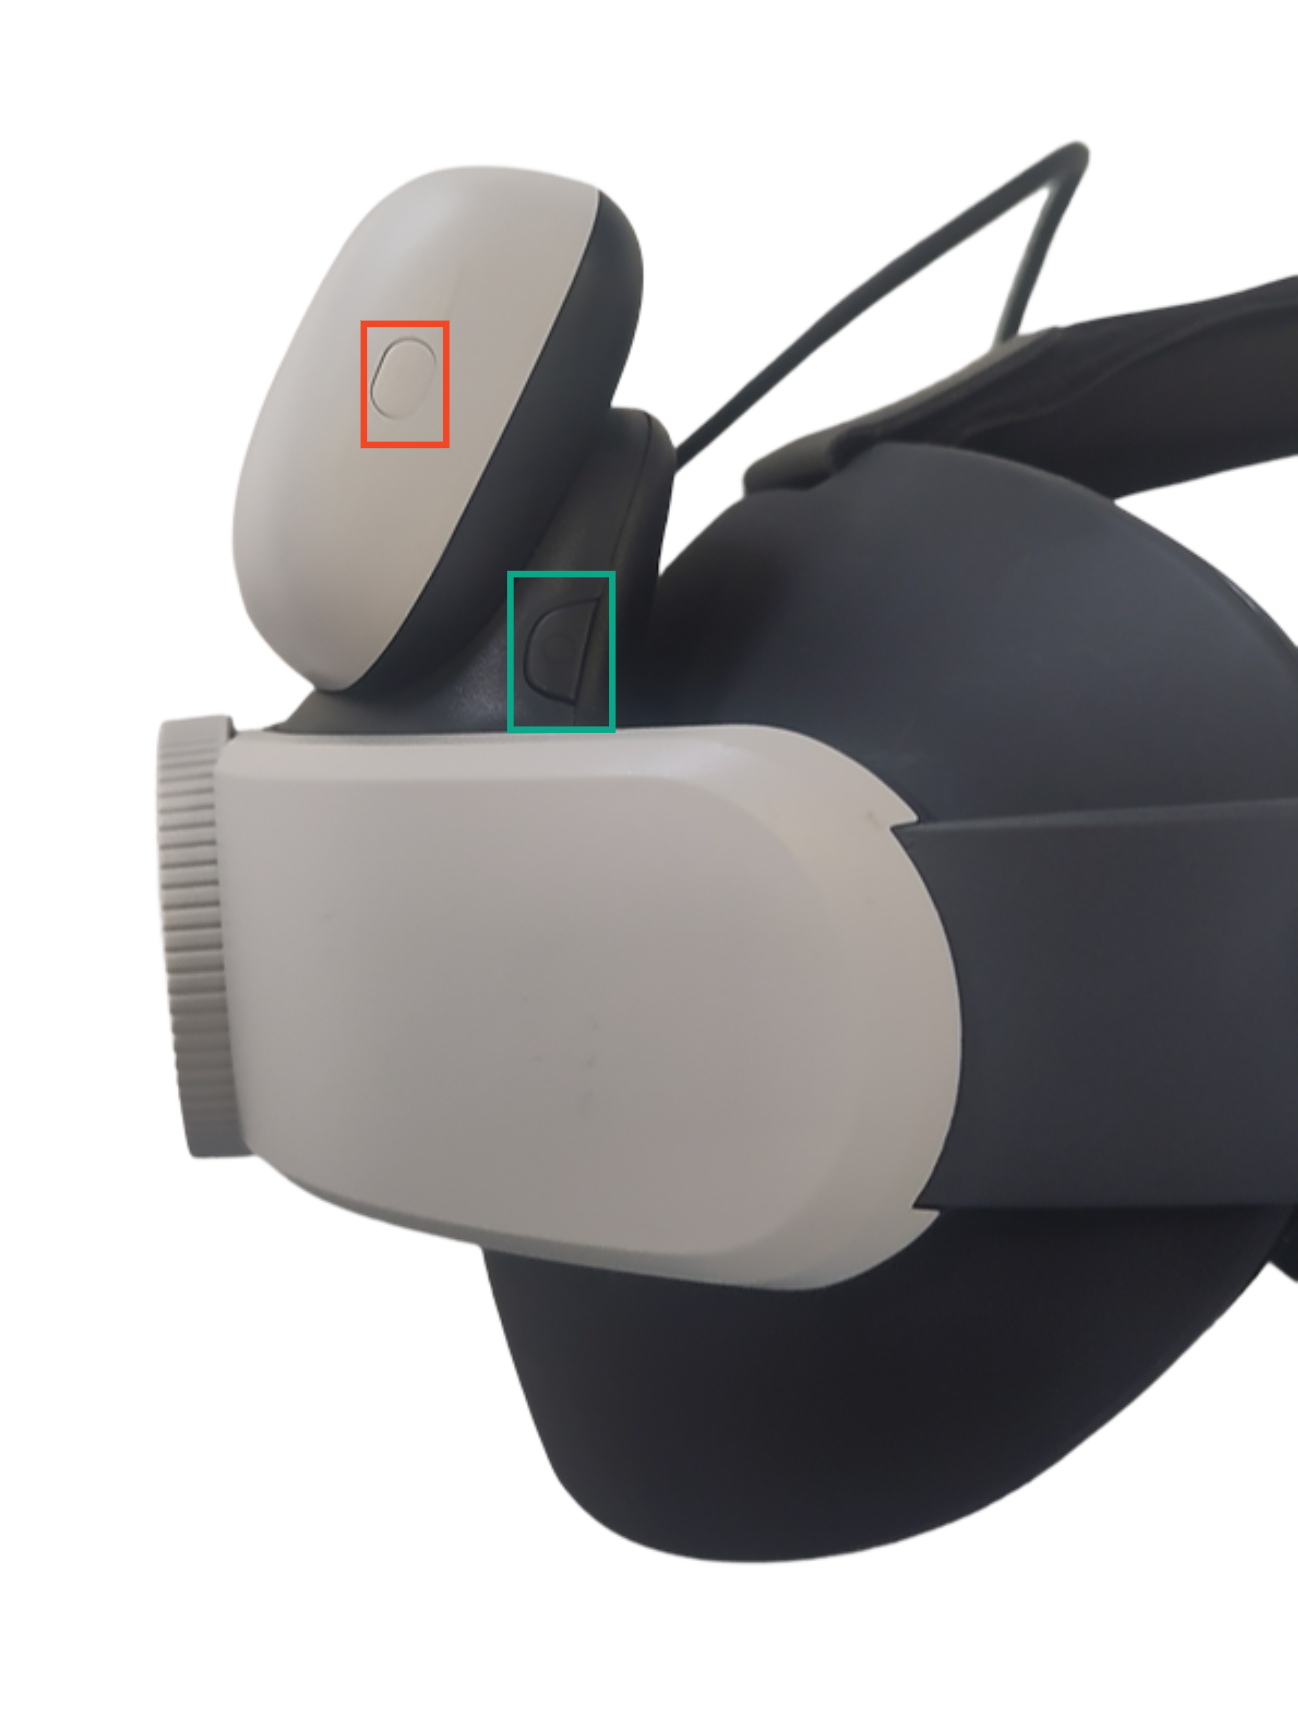
Starting the Charging Process via External Battery:
Depending on the Version of your headstrap, you will have one of the green-marked buttons. Press it to begin charging the headset via the external battery. The charging process will stop automatically once the headset is fully charged.
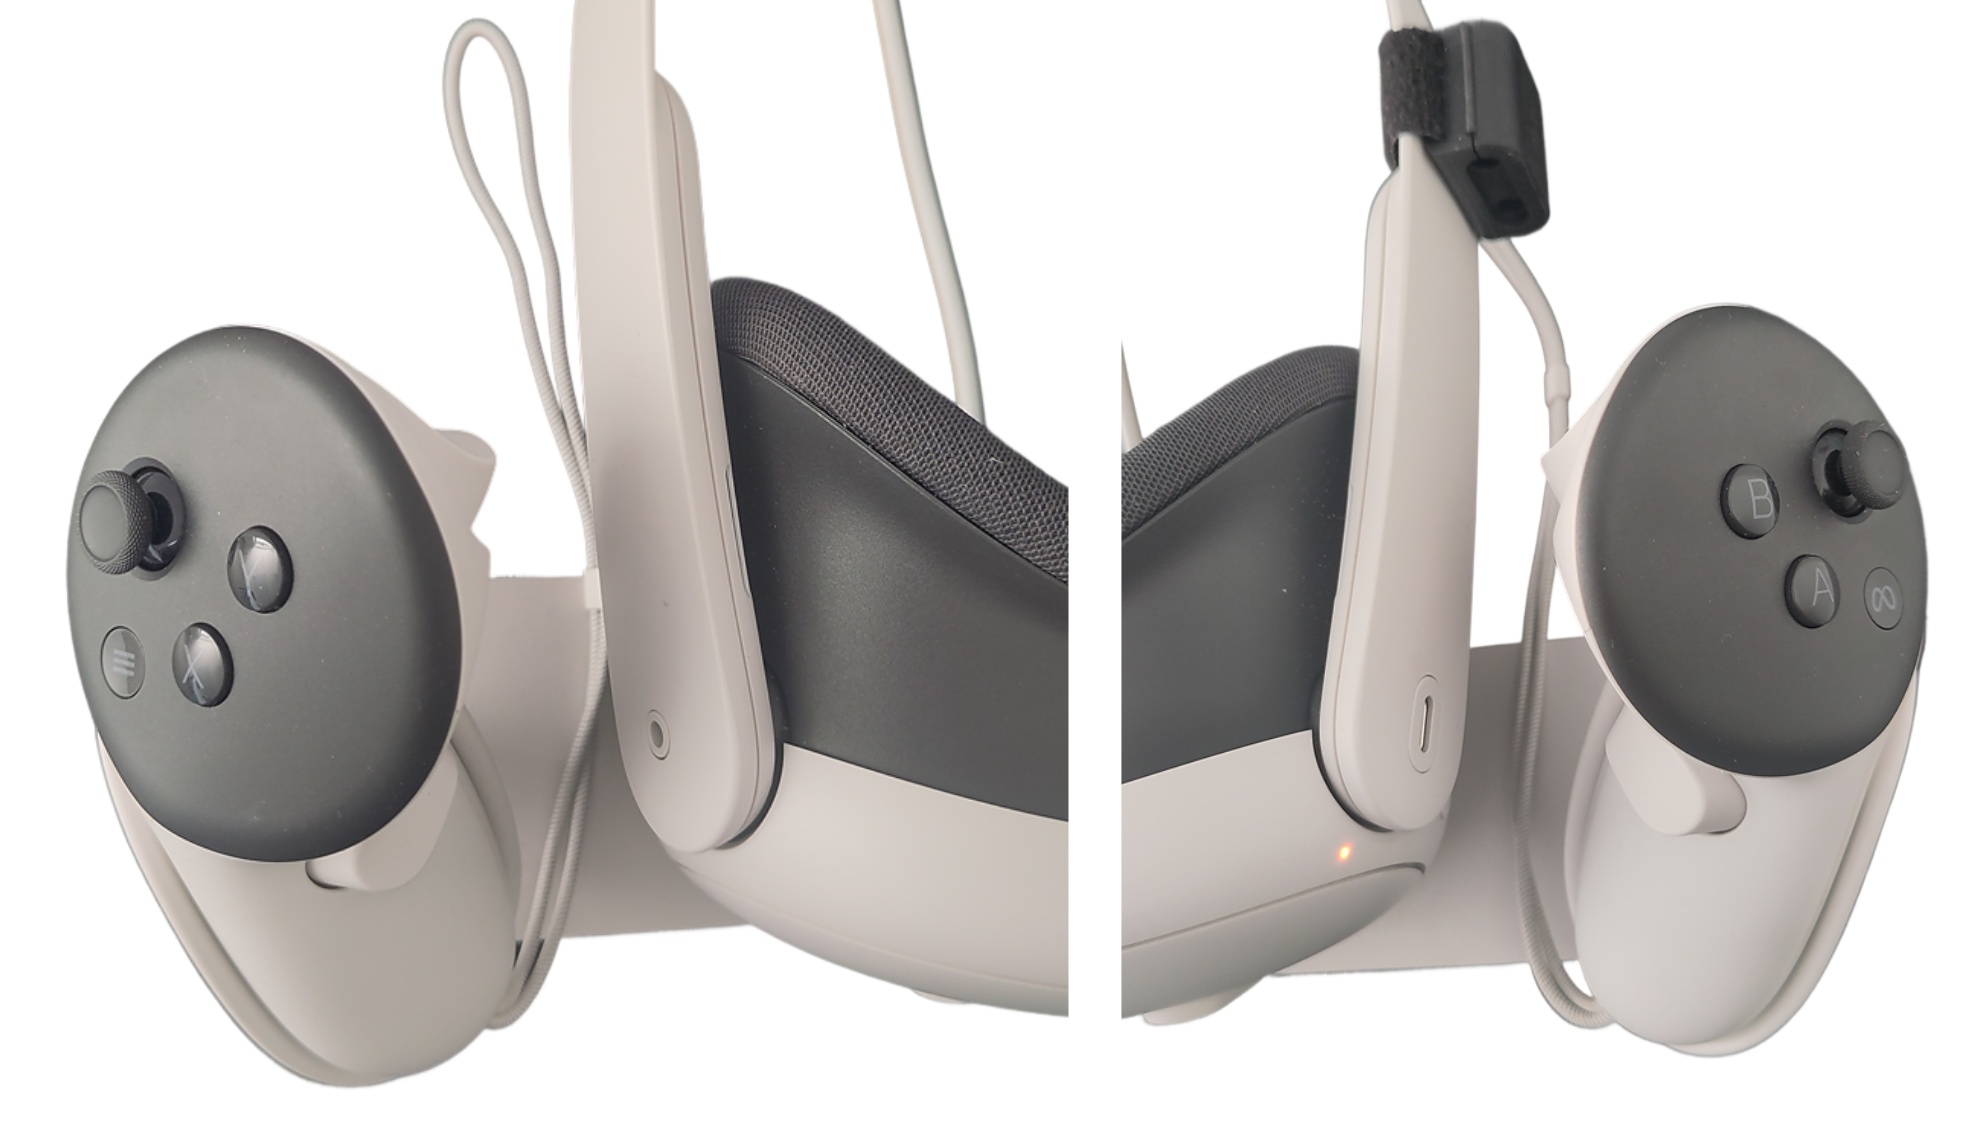
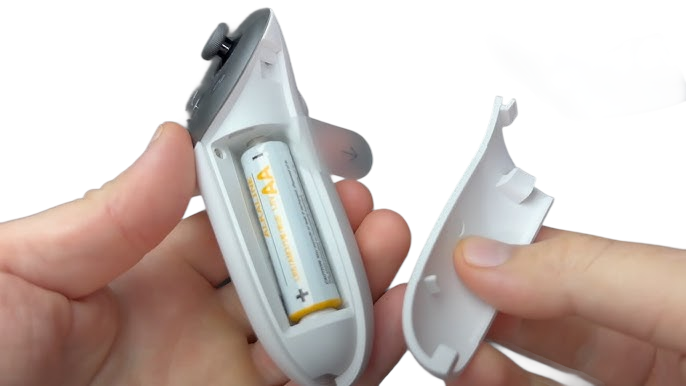
1.4 Replacing Controller Batteries:
When to Replace:
If the controllers’ battery level is low, the batteries should be replaced.How to Replace:
Press the triangular button on the top of the controller to open the battery compartment and replace the battery.
2. Packaging the VR Headset in the Case (Optional)
For transporting the VR headset, it should always be powered off and stored only in the designated hard case. Follow these instructions to pack the hardware properly:
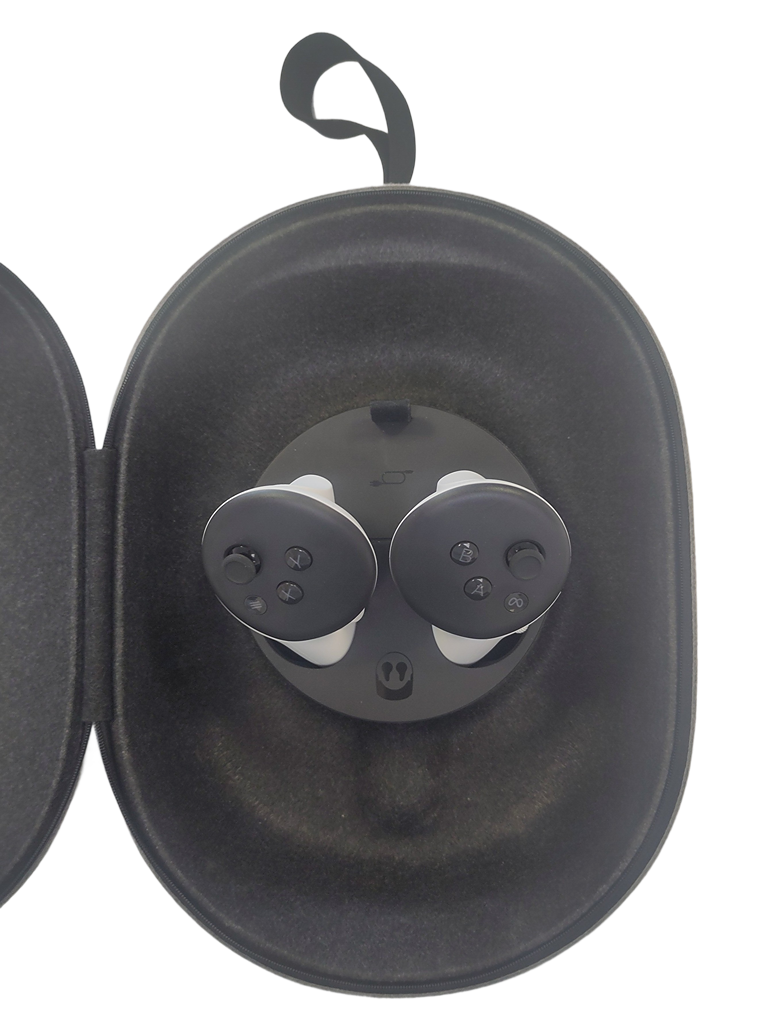
2.1 Controllers:
Stow the controllers in their respective compartments as illustrated.
Ensure they are aligned correctly; improper placement may prevent the case from closing properly.
2.2 External Battery:
Remove the external battery from the headset and store it in the designated area under the controllers as shown.

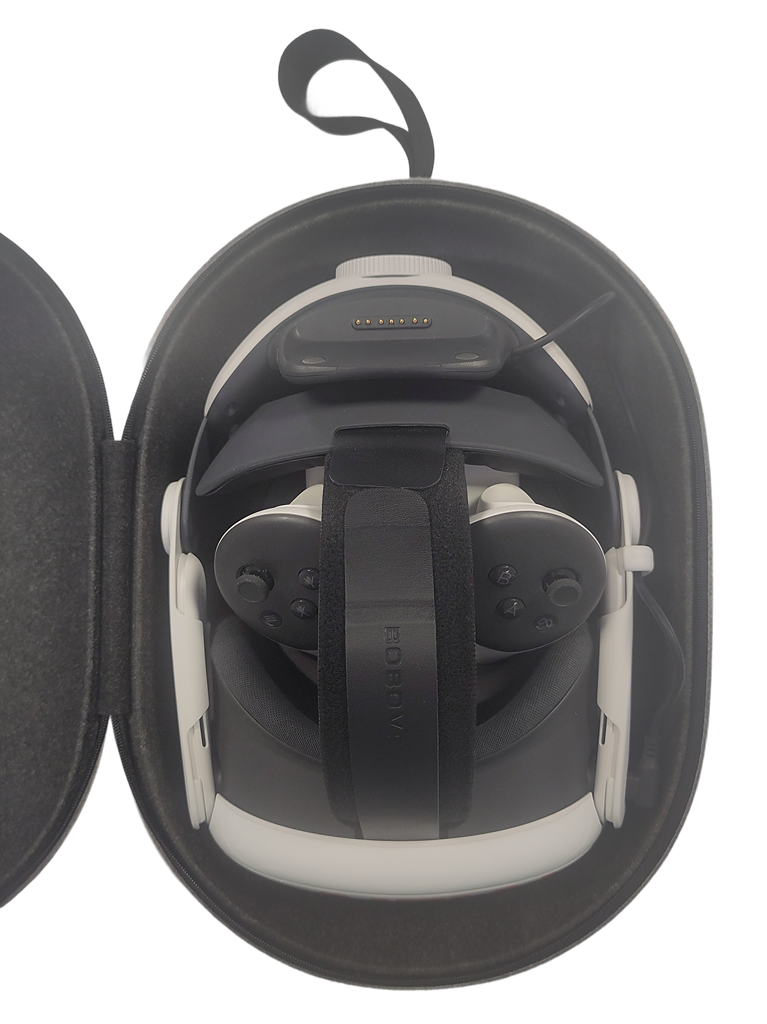
2.3 Headset:
Preparation:
Fully retract the head strap using the adjustment wheel at the back of the headset.Placement:
Place the headset in the case as depicted.Adjustment:
Adjust the headband using the Velcro closure so that it fits snugly and does not occupy more space than necessary.
The case lid should now close completely without excessive force. If the zipper is difficult to move, verify the positioning of the controllers and head strap to avoid damaging the zipper.
3. Charging Station (Optional)
If available, the VR headset and controllers can be charged using a dedicated charging station. Please note that only VR headsets designed for use with this charging station can be charged on it.
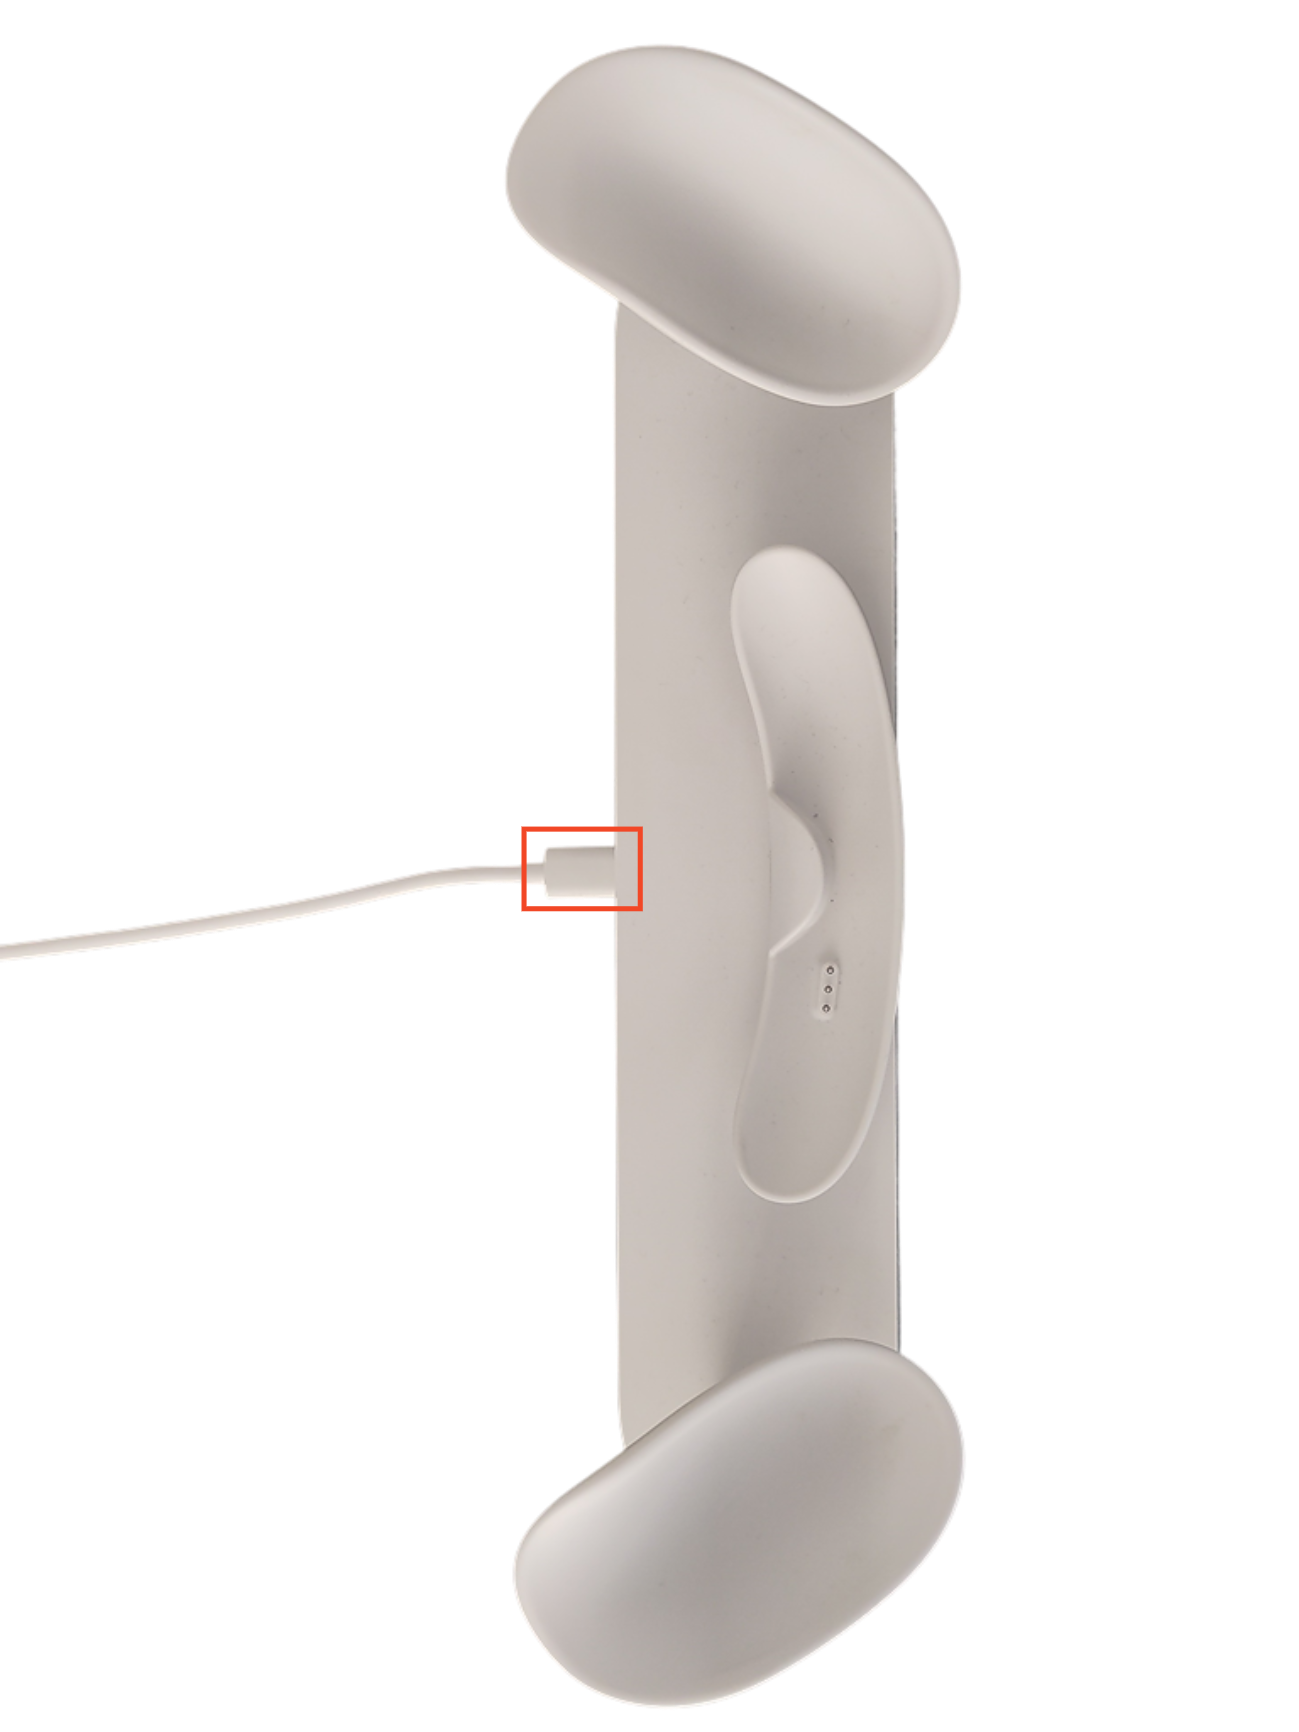
3.1 Setup:
Plug the supplied power adapter into an outlet and connect it to the charging station using the provided USB‑C cable. The port is located on the back of the charging station.
3.2 Placement:
Place the headset on the charging station as shown.
Status Indicator:
When the headset is correctly positioned and charging:Yellow LED: The headset is charging.
Green LED: The headset is fully charged.
If the status LED does not light up, the headset may not be making proper contact with the charging station. In that case, adjust the head strap to a neutral position.
The external battery is not charged via this method and must be charged separately.
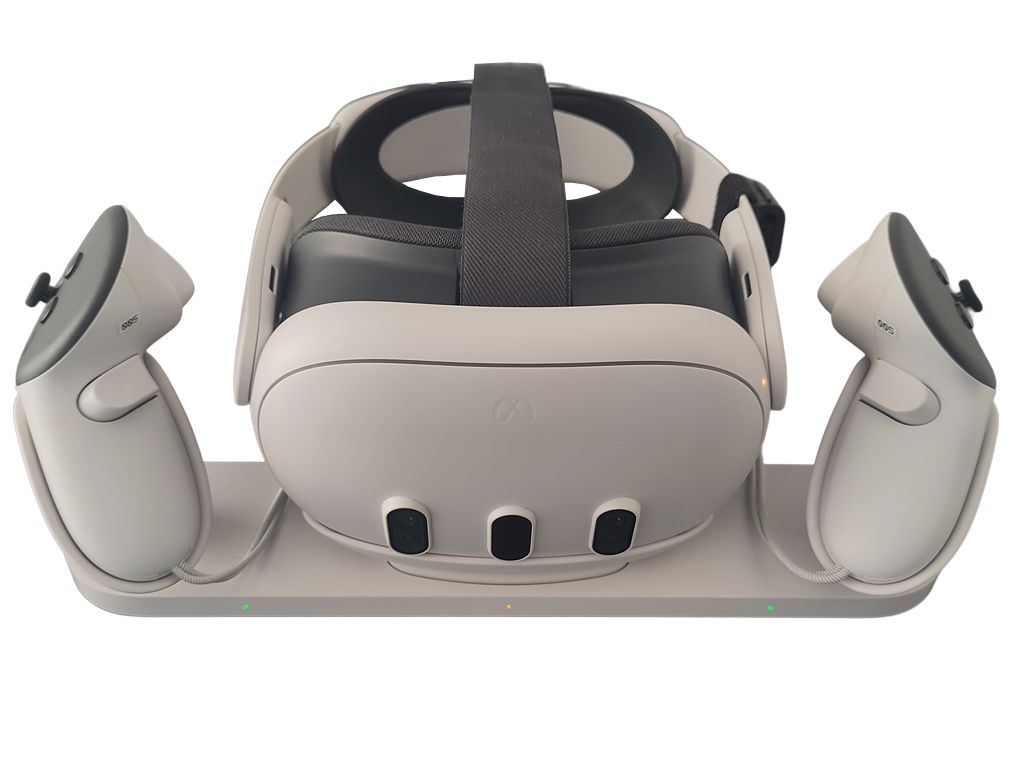
3.3 Charging the Controllers via the Charging Station:
Insert the controllers into their designated slots on the charging station as illustrated.
Status Indicator:
When correctly placed and charging, each slot displays a status LED:Yellow LED: The controller is charging.
Green LED: The controller is fully charged.
Please note that only Controllers designed for use with this charging station can be charged on it.